Saturday, January 8, 2011

Anzac Cookies (aka biscuits)

I'm having an identity crisis people. What happened to watching the Lakers, Dodgers and eating apple pie?! Now I love the cricket (and not the kind that chirp), Australian rules football (go Doggies!) and Anzac cookies!!! So rather than fight it, I'm embracing my Australianism (I think that's a made up word). I got this recipe from "The Australian Women's Weekly - Cakes, biscuits and slices."


Here's what you need:


1 cup rolled oats
1 cup plain flour
1 cup firmly packed brown sugar
1/2 cup desiccated coconut
125g butter
2 tablespoons golden syrup (corn syrup to my American friends) 
1 tablespoon water
1/2 teaspoon bicarbonate of soda (baking soda to my American friends)


Step 1: Preheat the oven to 160C (140C fan-forced). Grease and line baking trays.


Step 2: Combine oats, sifted flour, sugar and coconut in large bowl. 


Step 3: Combine butter, syrup and water in a saucepan. stir over low heat until smooth and stir in bi-carb soda. Stir the wet mixture into the dry mixture.


Step 4: Roll level tablespoons of mixture into balls. Place them at least 1-inch apart (they spread). Flatten with the back of a spoon. Bake 20 minutes. 


Tip: Don't worry if they look a little soft coming out of the oven, best to take them out when they appear a little underdone. You don't want them to be burnt on the bottom. They cook on the baking tray when it's out of the oven.


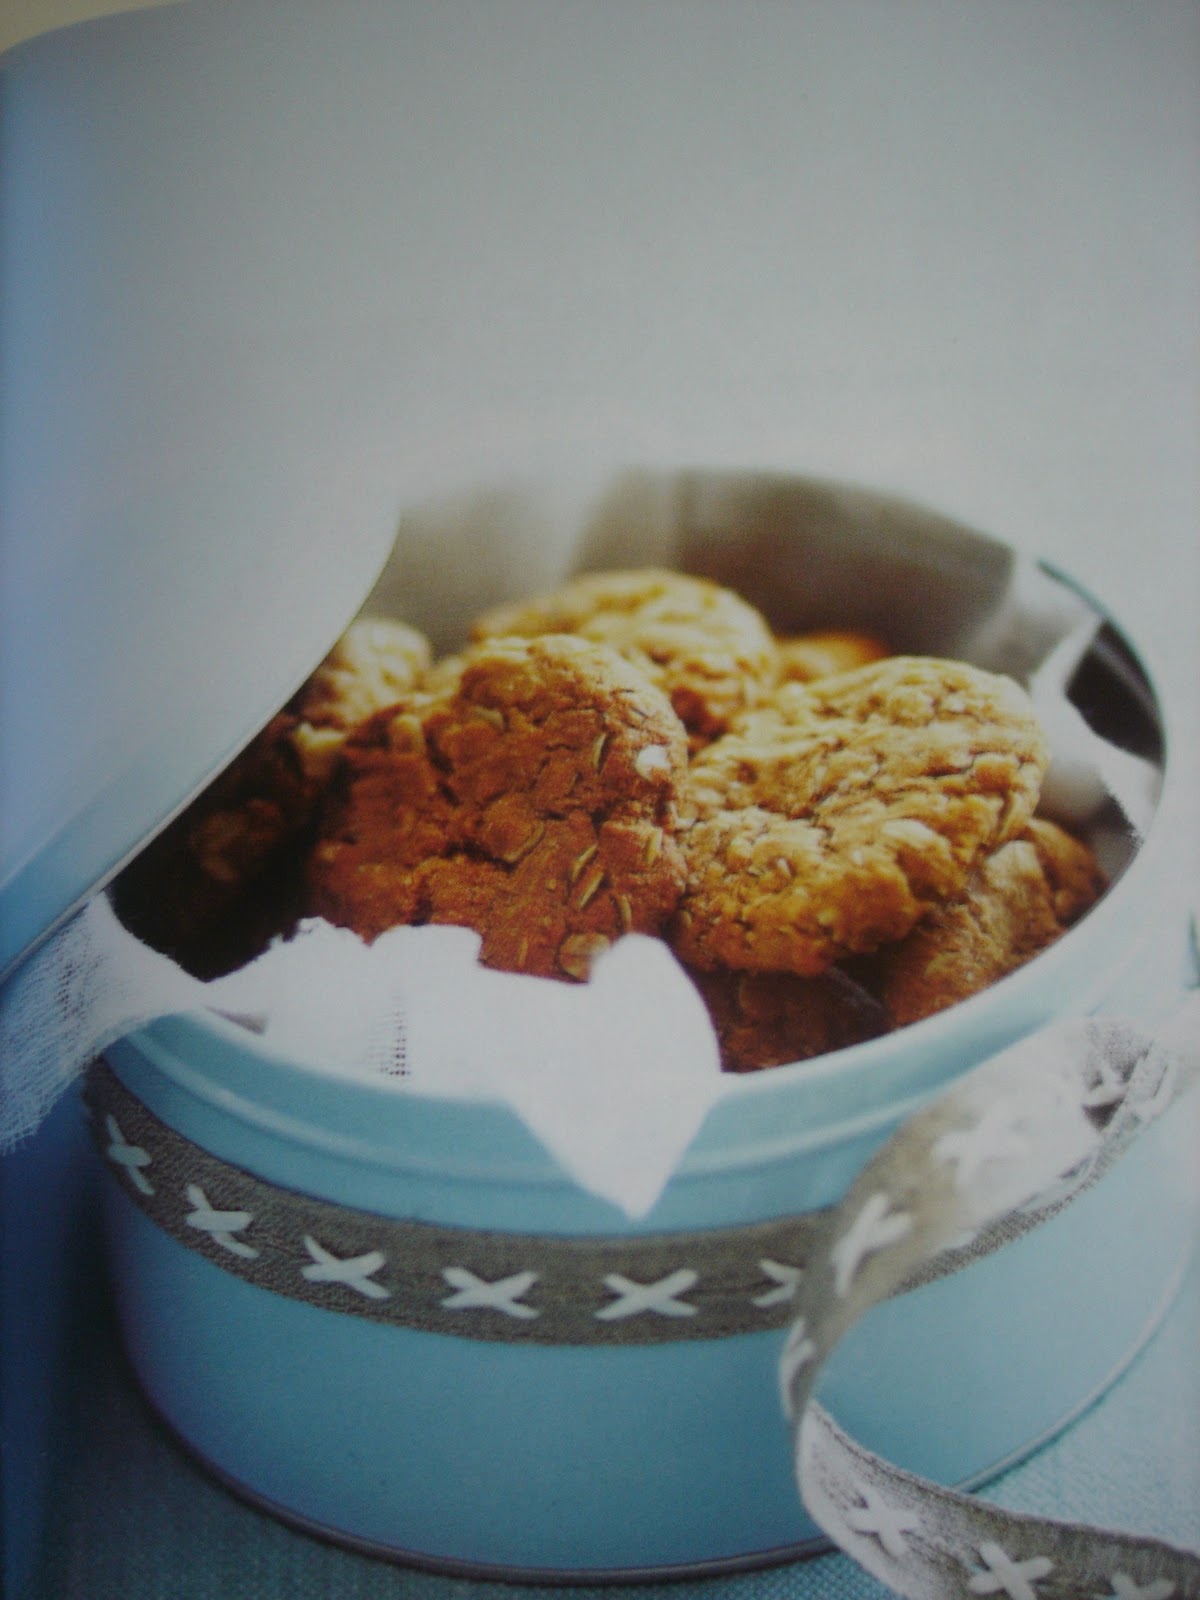
They are crunchy on the outside and soft and chewy on the inside!! Scrumptillyumptious! They also make a nice little gift with a bow (of course).


Friday, January 7, 2011

Banana Bread and Friends

Overripe bananas + need to bring something for brunch with the gal pals (and kids) = Banana bread. What a lovely equation!!


This recipe from www.taste.com.au  is easy and scrumptious. Everything you need is usually in the pantry:


I love big thick slices!


Ingredients:
1 3/4 cups self-raising flour
1/4 cup plain flour
1 tsp ground cinnamon
2/3 cup brown sugar (firmly packed)
1/2 cup skim milk
2 eggs, lightly whisked
50g butter, melted and cooled
2 overripe bananas, mashed


Step 1: Preheat oven to 180C (160C fan forced). Line or grease a loaf pan (I used a Chef's Toolbox silicone loaf pan and I don't have to line it).


Step 2: Sift the flours, cinnamon and sugar into a large bowl.


Step 3: Combine, in a separate bowl, the milk eggs, melted butter and banana. 


Step 4: Add banana mixture to the flour mixture. Stir until just combined (don't overmix).


Step 5 : Bake for 45-50 minutes (mine took 55 minutes). 


Step 6: Make sure to eat this lovely bread with the company of good friends!


Tuesday, November 30, 2010

Sugar Flowers

Who knew making sugar flowers could be so difficult?! These are the products of a four-week short course in sugar flowers. Let me know what you think. I hope to put up a tutorial soon. Stay tuned...


Monday, November 29, 2010

Birthday Boy

As I promised, here is a picture of the birthday boy. Although he is dressed up as the Grim Reaper it is hard to think of him as being the messenger of death with a great smile like that. 


Watch out Matthew! There's a spider on your cake.

Friday, November 26, 2010

Spooky Spider

One of the coolest 11 year olds that I know, Matthew, had a spooky-themed birthday party. He didn't give me too many instructions for the cake. Only that he wanted it to be scary and it somehow had to involve a spider. Here is the finished product. I hope he likes it, or rather, he is spooked by it. Hopefully, pictures of the birthday boy will be posted soon.


I made the base of the cake from two 8-cm butter cakes, grey buttercream icing and I piped the spider web with black buttercream icing, using a no.3 nozzle. Originally I considered using fondant, but I really dislike making black fondant because it takes forever to make it a true black. Buttercream icing takes much less colouring to make it a nice dark black colour. I also made a 3-cm butter cake for the body of the spider. His body is black buttercream icing using a small leaf piping nozzle. I thought it gave it a hairy look. The legs are pipe cleaners. The head is a "cake ball," which is basically cake crumbs and icing. I made the eyes and fangs with fondant.

Thursday, November 25, 2010

Happy Birthday Charlise

The beautiful 3-year-old Charlise had a fantastical fairy party. Mum (Anna) asked me to ice these gluten-free cupcakes. At first I was a little sceptical about combining the fairy and pirate themes but upon Anna's persistence I was won over. Here is the birthday girl examining her cupcakes. She's a tough critic.


Wednesday, October 6, 2010

Baking with Kyra

I had one of the best Spring breaks ever! Baking with Kyra was just what the doctor ordered. You may not be able to tell from the pictures, because she is almost taller than me, but Kyra is one of the coolest 5th graders I know. We spent an awesome Tuesday in the kitchen with rice krispies, banana and chocolate. The results...well, I'll let you be the judge. 

Rice Krispy Bites. Side note: In Australia you cannot buy just white marshmallows, you have to buy them in a pack of pink and white marshmallows. I think I just found a new market for marshmallows.


Chocolate chip Banana Muffins (recipe from: www.taste.com.au)

Before

After